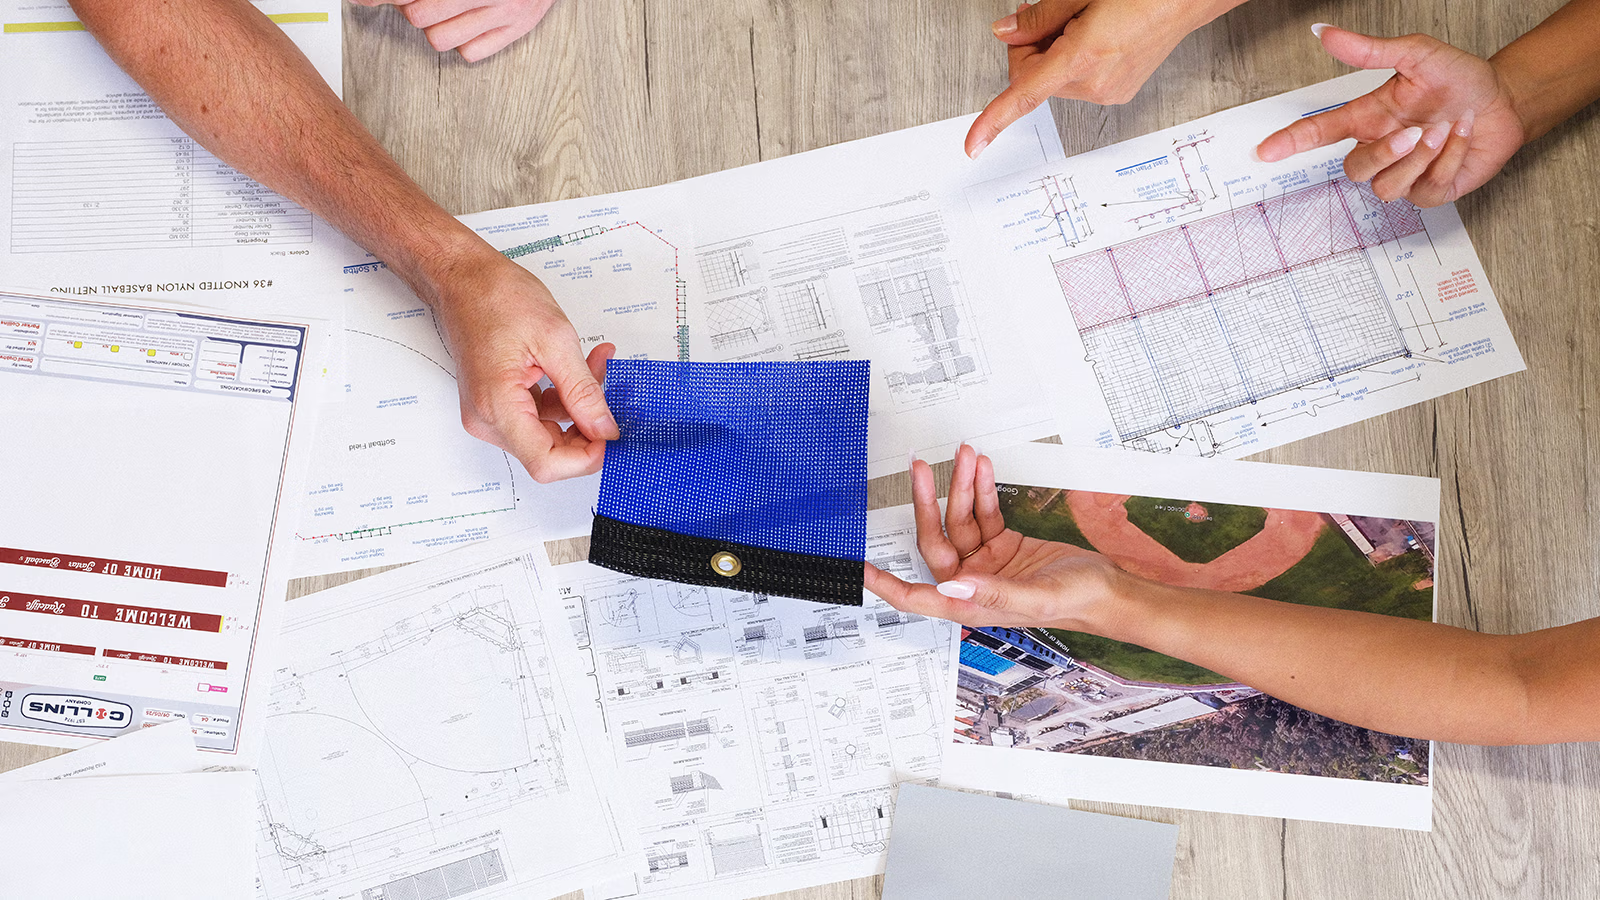
Introduction
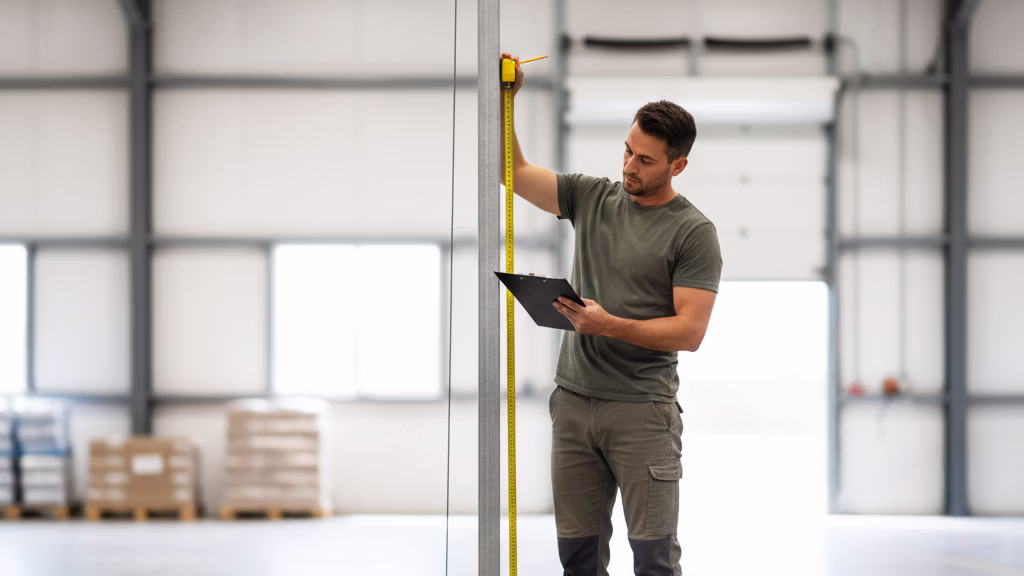
Accurate measurements are essential for a clean, secure, and professional netting installation on a cable frame system. If the netting is cut too short, it won’t reach the cables; too long, and it will sag and look uneven. This guide walks you step by step through the process so you can collect precise measurements for a perfect, tight fit.
Tools You’ll Need
- Tape measure (at least 50–100 ft depending on frame size)
- Step ladder (if needed for higher points)
- Notepad or printed measurement sheet
- Pen or pencil
- Helper (recommended for long spans)
- Camera or phone (to take reference photos)
- Level or laser line (optional, for alignment)
💡 Pro Tip: Always measure twice and write down every measurement immediately. Accuracy is critical for a clean fit.
Instructions
Step 1: Understand Cable Frame Layout
Before measuring, identify:
- Top cable → Runs horizontally across the top of the frame.
- Bottom cable → Runs parallel along the base of the frame.
- Side cables or posts → Define the left and right edges.
- Attachment points → Where the netting will secure to the cables or frame.
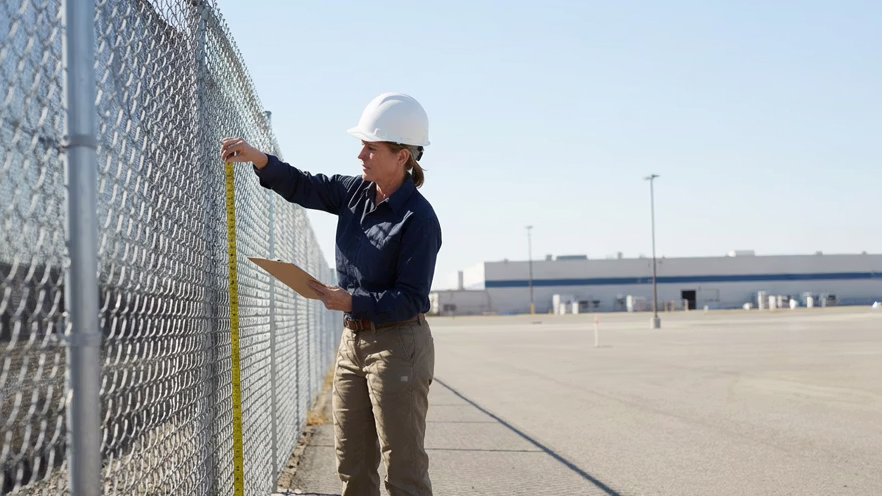
Step 2: Measure the Width
- Start at the inside edge of the left frame post or cable connection point.
- Measure straight across to the inside edge of the opposite post or cable connection point.
- Keep the measuring tape tight — no slack — for accurate results.
- Take photos of each measurement for reference.
💡 Pro Tip: Always measure at the attachment point level — not the ground — to ensure the netting aligns perfectly with the cables.
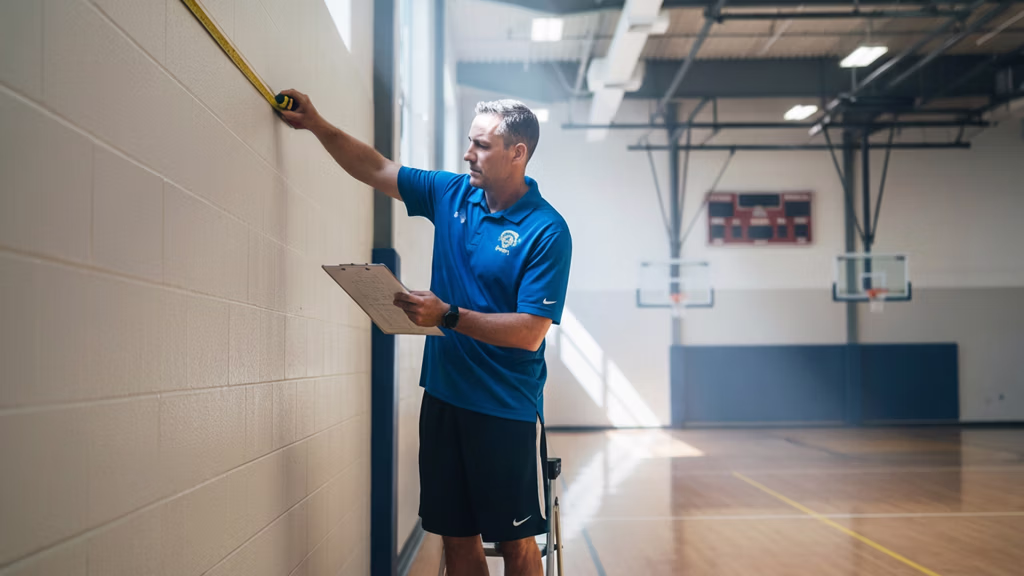
Step 3: Measure the Height
- Starting from the bottom cable or lowest attachment point, measure straight up to the top cable or top attachment point.
- Do not measure to the ground unless the netting is intended to touch the surface.
- Measure at least two spots along the width to confirm height consistency.
- Record measurements to the nearest ⅛ inch for precision.
Step 4: Check for Consistency
- Measure width and height at multiple locations to verify the frame is square and level.
- If measurements differ slightly, note the smallest and largest dimensions — this helps Collins Company design a proper fit.
- Take photos showing measurement points for clarity.
💡 Pro Tip: Uneven cable tension can cause small variations — always measure with cables pulled tight.
Step 5: Account for Obstacles
If there are any obstructions behind or within the netting area, record their size and location:
- Light poles
- Conduits or pipes
- Gates or doorways
- Scoreboards or signage
- Overhanging beams
For each obstacle:
- Measure from the starting reference point (usually left post) to the center of the obstruction.
- Record the width and height of the obstruction if cutouts are needed.
- Take photos to document details.
Step 6: Determine Panel Splits (If Needed)
For large netting systems, you may need multiple panels:
- Collins Company recommends panel widths of 40–60 ft maximum for easier handling and installation.
- Plan for panel splits at logical breaks, such as:
- In front of a cable post
- Between separate play areas
- At natural seams in the structure
- Mark your planned panel breaks on your measurement sheet.
Step 7: Note the Attachment Method
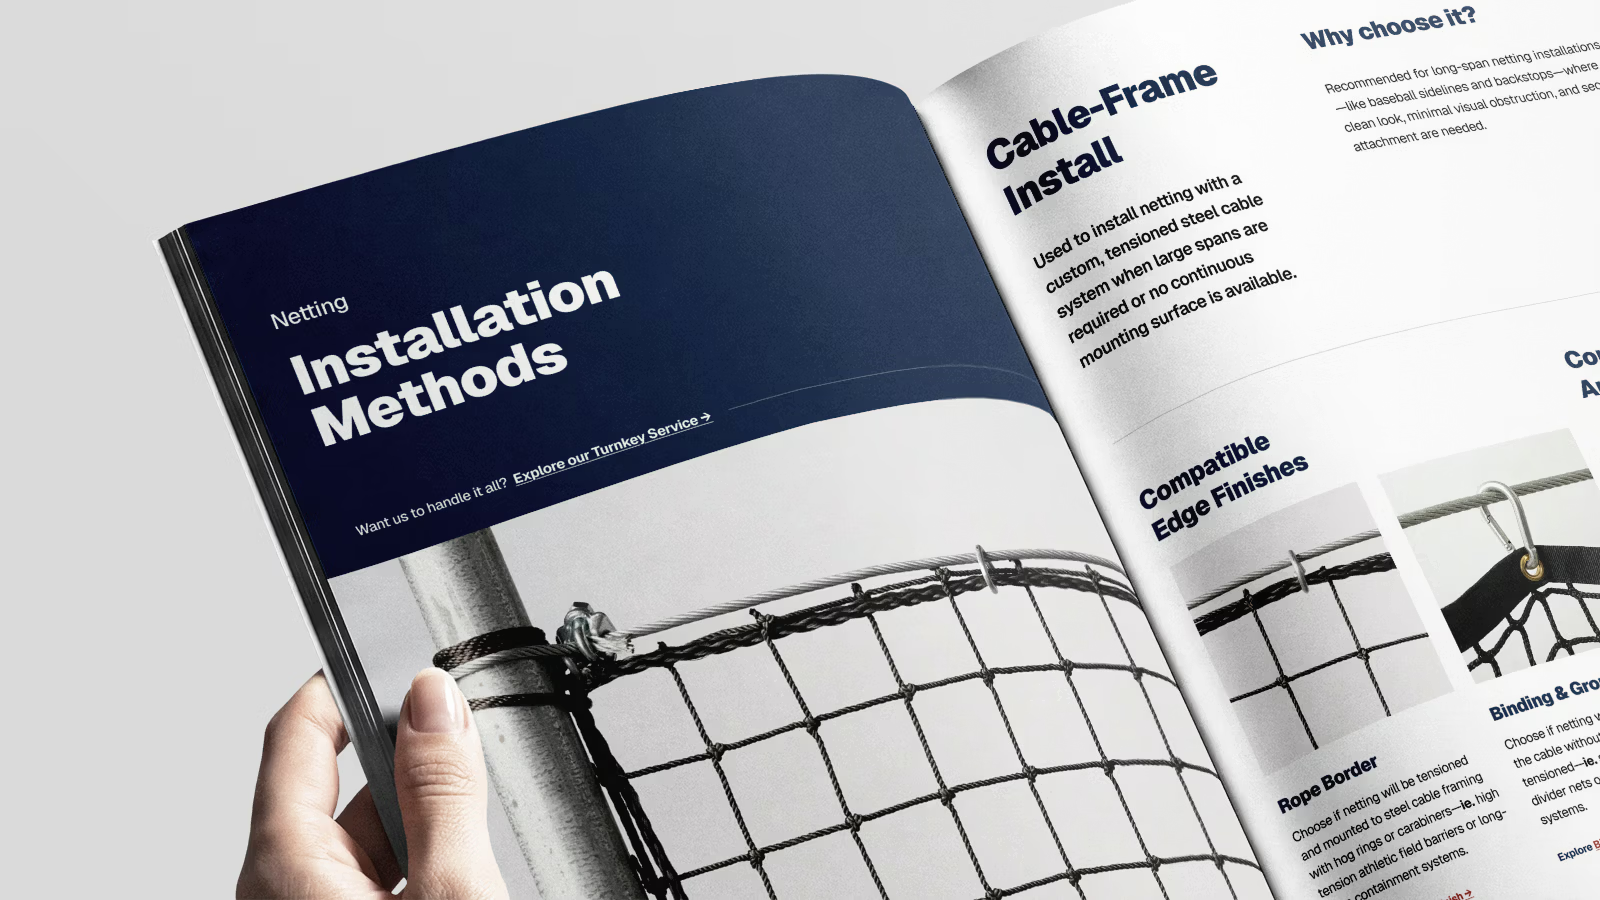
Collins Company uses three primary securement methods for cable-frame netting:
1. Hog Rings (Most Common)
- Used to permanently secure netting to cables.
- Provides a tight, professional fit with minimal sagging.
- Best for installations where the netting won’t need to be removed often.
2. Carabiners or Clips
- Ideal for installations where the netting may need to be removed or adjusted periodically.
- Provides quick release while maintaining a secure hold.
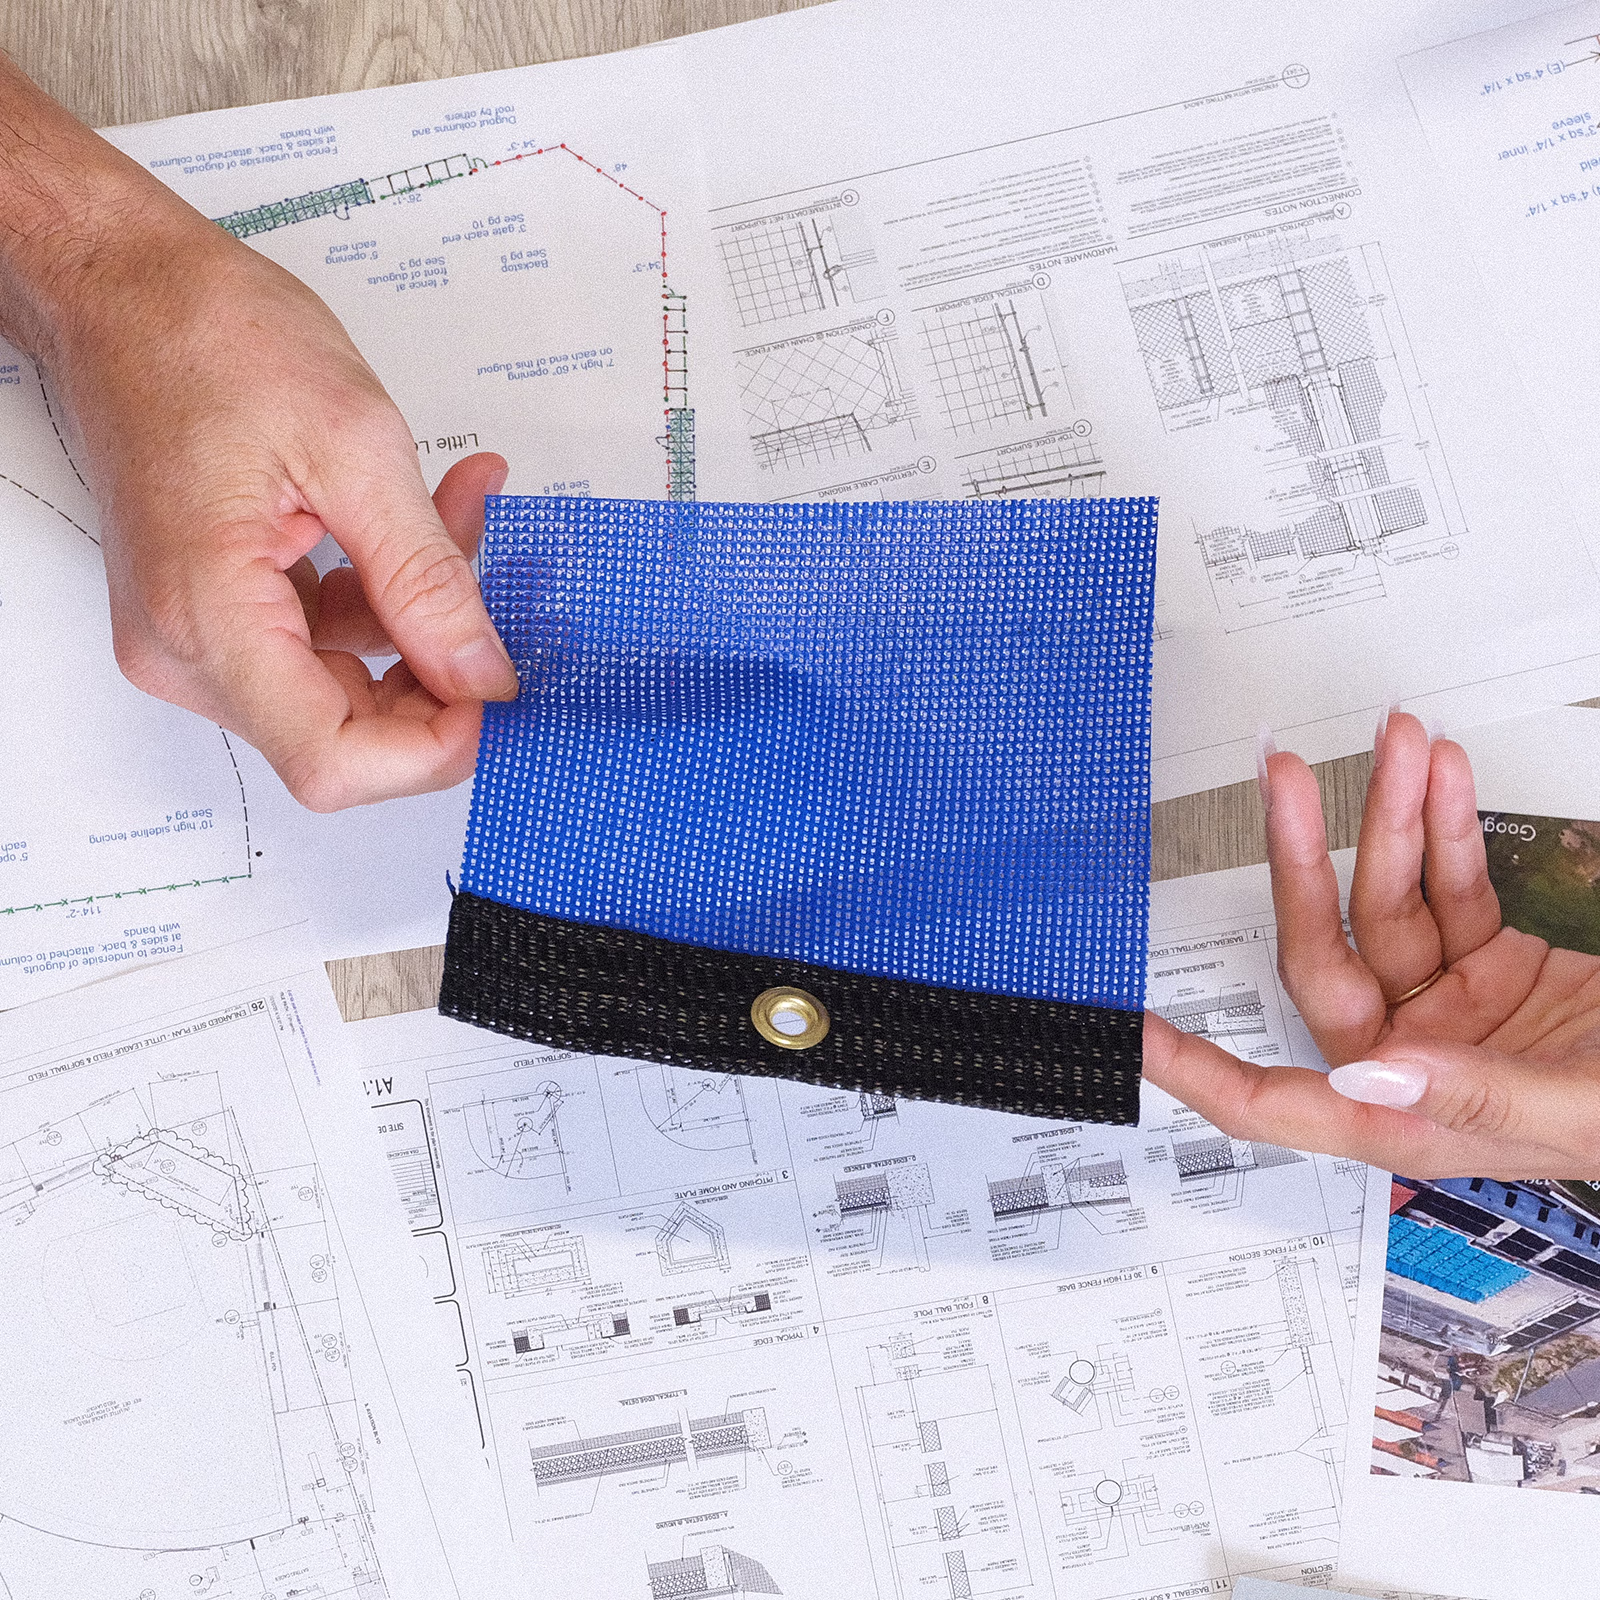
3. Lacing Rope (Cleanest Finish)
- Used to “lace” the netting edge directly to the cable for an even, uniform tension.
- Best for high-end installations where appearance matters most.
💡 Pro Tip: The attachment method affects the tightness of the fit and determines how much tolerance is needed in your measurements. Always confirm the method before finalizing dimensions.
Step 8: Double-Check Your Measurements
- Walk the entire cable frame and confirm every measurement twice.
- Check consistency at top, middle, and bottom points.
- Ensure all cutouts and obstacles are clearly noted.
- Label each section carefully.
💡 Pro Tip: Exact measurements are essential — even an extra inch of slack can cause sagging or gaps.
Mistakes to Avoid
⚠️ Measuring from the ground instead of attachment points → Results in incorrect net height.
⚠️ Leaving slack in the measuring tape → Causes inaccurate totals.
⚠️ Forgetting to account for panel splits → Leads to oversized or hard-to-install sections.
⚠️ Ignoring obstacles → Missing cutouts can delay production and installation.
⚠️ Not labeling each section → Always mark where each measurement belongs.
Pro Tips
💡 Always measure at the exact attachment points, not the floor or ceiling.
💡 Keep the measuring tape tight for precise results — no slack.
💡 Take photos of every measurement to confirm accuracy later.
💡 Measure twice, record once — mistakes are costly on custom netting.
💡 For multi-panel systems, plan panel breaks in front of posts for a cleaner look.
Need Help?
Contact us and ask about our turnkey measurement and installation services.