Introduction
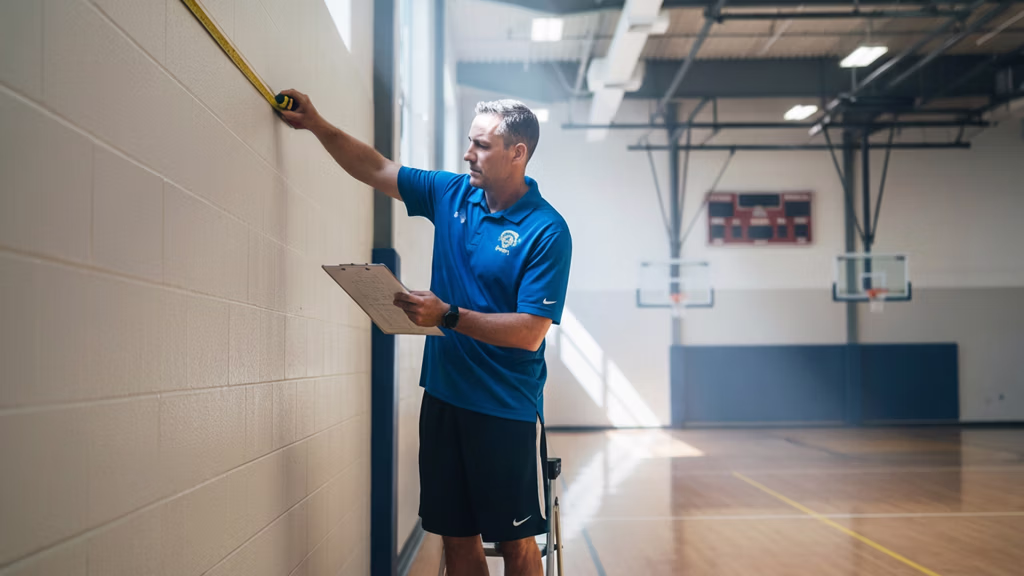
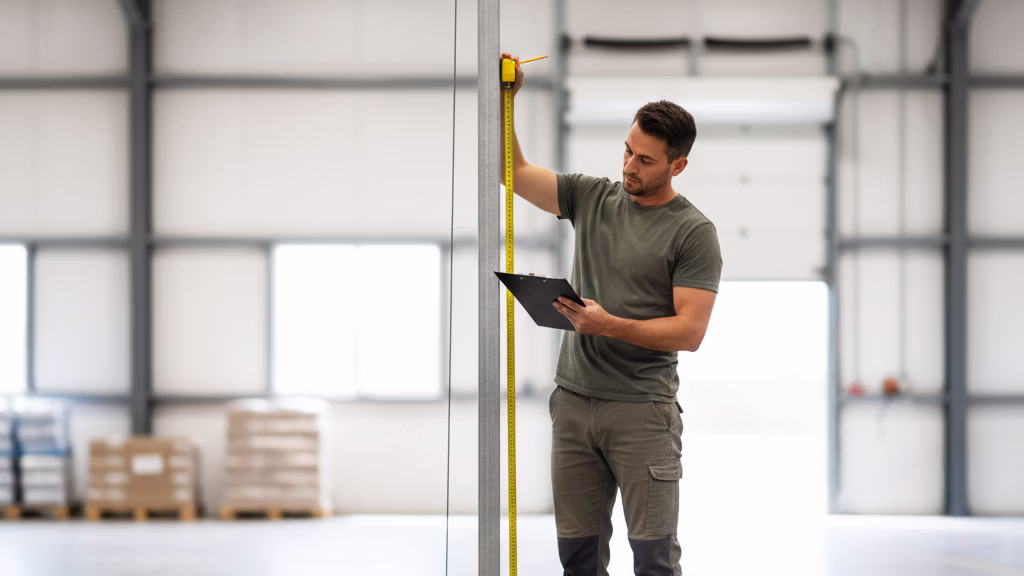
Accurate and precise measurements are critical to ensure your gym wall pads fit cleanly and perfectly. Even small errors can lead to gaps, uneven seams, or pads that don’t align properly.
This guide walks you step by step through the process so you can confidently collect exact measurements and ensure a professional-looking installation.
Tools You’ll Need
- Tape measure (at least 25–50 ft)
- Step ladder (if measuring tall walls)
- Notepad or printed measurement sheet
- Pen or pencil
- Helper (recommended for long walls)
- Camera or phone (to take reference photos)
- Level (optional, for vertical alignment checks)
💡 Pro Tip: Always measure twice and record your numbers immediately. Precision is key to a perfect fit.
Instructions
Step 1: Identify Start Point
- Choose one corner of the wall as your consistent reference point.
- Mark it mentally or take a photo so you don’t lose track later.
- Measure continuously from this point along the entire wall.
Step 2: Measure Pad Height
- Start at the bottom edge of the pad — padding doesn’t always go to the floor.
- Measure up to the desired stopping point at the top — padding doesn’t always cover the entire wall height.
- The most common pad size is 2 ft wide × 6 ft high, but confirm project specifications before ordering.
- Measure in multiple spots along the wall to check for floor or ceiling variations.
- Record the exact height to the nearest ⅛ inch for accuracy.
💡 Pro Tip: Height precision is critical — even a ¼ inch off can lead to uneven tops or gaps.
Step 3: Measure Wall Width
- Starting from your reference corner, measure continuously along the entire wall.
- Keep the tape tight and straight — no slack — for exact measurements.
- Record the total length and label each section clearly.
- Take photos of each wall section for reference later.
💡 Pro Tip: Small measurement errors add up — an extra inch or two on one wall can throw off your entire layout.
Step 4: Mark Obstructions & Cutouts
⚠️ Critical Step: Mark every obstruction along the wall to ensure your pads are manufactured with precise cutouts:
- Outlets & switches
- Windows
- Conduits & wall pipes
- Wall pillars or columns
- Fire alarms & emergency boxes
- Scoreboards or wall-mounted equipment
- For each obstruction:
- Measure from your starting corner to the center of the obstruction.
- Record the width and height of the obstruction.
- Take photos for visual reference.
💡 Pro Tip: Providing exact cutout measurements ensures the pads are fabricated correctly the first time, giving you a seamless, custom fit.
Step 5: Decide on Pad Layout
- Collins Company recommends 2 ft wide × 6 ft high pads for most gym walls.
- Plan equal pad spacing whenever possible to keep a clean, uniform appearance.
- Avoid placing pad seams directly over obstructions like outlets or windows.
- Mark your planned pad layout on your measurement sheet for clarity.
Step 6: Double-Check All Measurements
- Walk the wall again and confirm heights, widths, and cutouts.
- Ensure totals match your notes and photos.
- Verify all obstruction measurements are exact.
- Label each wall section clearly for easy reference.
💡 Pro Tip: Measure twice before submitting. Exact numbers ensure your pads fit perfectly and install without adjustments.
Mistakes to Avoid
⚠️ Forgetting to mark outlets, windows, or other cutouts → Causes delays and misaligned pads.
⚠️ Assuming pads start at the floor → Always confirm the bottom starting point.
⚠️ Using rough estimates → Even small errors create gaps and uneven seams.
⚠️ Leaving slack in the tape measure → Results in incorrect totals.
⚠️ Failing to label wall sections → Label walls by side and section, e.g., “North Wall — Section 1.”
Pro Tips
💡 Exact measurements are essential for a clean, professional fit.
💡 Always start from one consistent reference point.
💡 Keep the measuring tape tight — no slack anywhere.
💡 Note every obstruction, no matter how small, for proper fabrication.
💡 Take photos of walls, cutouts, and labels to confirm details later.
💡 Standard pads are 2' × 6', but always confirm your project specifications.
Need Help?
Contact us and ask about our turnkey measurement and installation services.