Introduction
Accurate measurements are the foundation of a clean, professional windscreen installation. If the panels are too short, you’ll get gaps; if they’re too long, the material can bunch and wrinkle. This guide will walk you through each step to ensure your windscreens fit perfectly, attach securely, and look great.
Tools you'll need
- 25–100 ft tape measure (depending on fence size)
- Notepad or printed measurement sheet
- Pen or pencil
- Helper (recommended for long runs)
- Camera or phone (to take reference photos)
Instructions
Step 1: Identify Start Point
- Choose a corner post as your starting reference.
- Mark it mentally or snap a quick photo.
- You’ll measure continuously from this point around the entire fence.
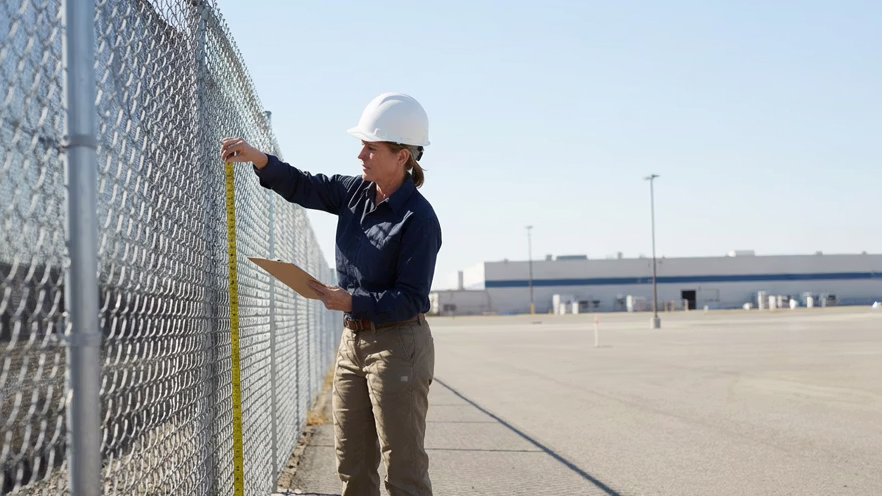
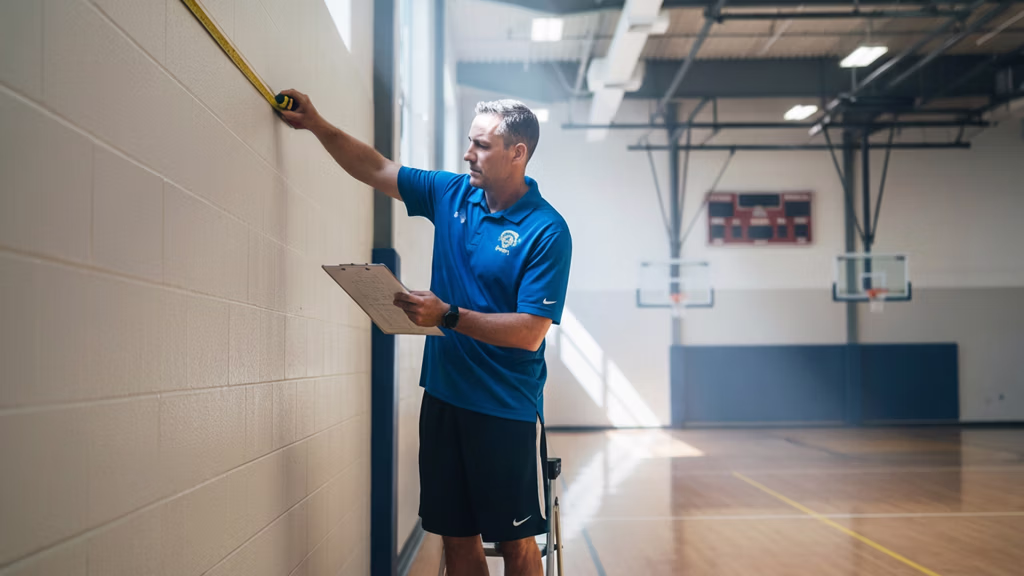
Step 2: Measure Height
- Measure from the knuckle point of the chain link at the top to the knuckle point at the bottom (not from the ground).
- Subtract 4 inches from the total height — this is your material height.
Example: A 6 ft chain-link fence requires 5 ft 8 in windscreen. Keep the measuring tape tight when pulling from top to bottom — no slack for the most accurate result. Take height measurements in at least two spots per section to confirm consistency.
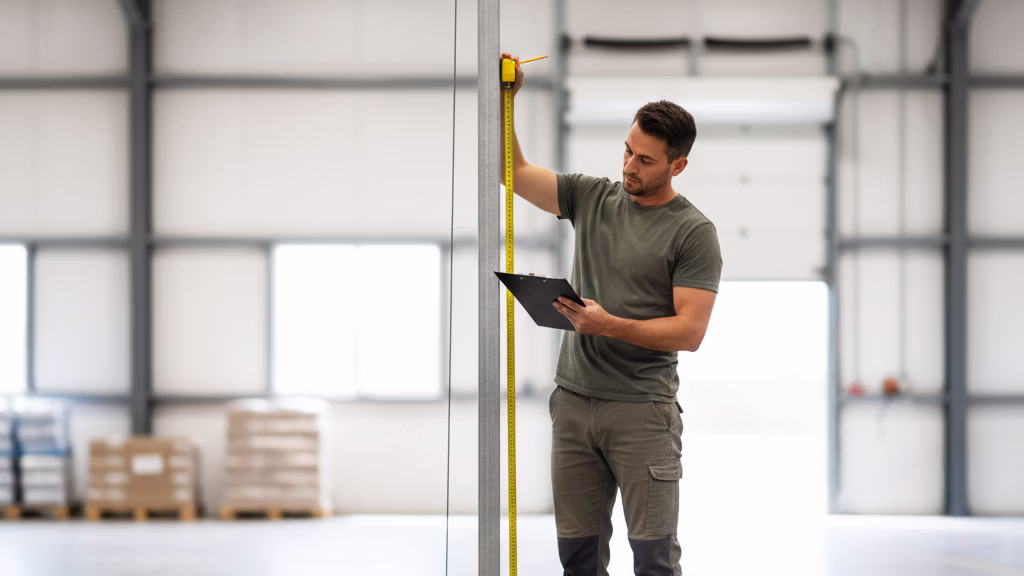
Step 3: Measure Length
- Measure from inside tension bar to inside tension bar — NOT post to post.
- Keep the measuring tape pulled tight along the fence line so there’s zero slack. Any looseness can throw off your measurement.
- Break the fence into sections and write down each measurement separately.
- For long straight runs, plan your panel lengths carefully:
- Recommended panel size: 50 ft to 70 ft
- Choose start and stop points where it makes the most sense visually.
- Always end a panel in front of a fence post if possible for a clean, tight fit.
Step 4: Decide on Panel Splits
- For long runs, splitting panels at 50–70 ft improves installation and appearance.
- Always look for the next closest post when deciding where to stop a panel.
- This ensures:
- Uniform panel sizes
- Minimal light gaps between sections
- Easier handling during installation
Step 5: Confirm Installation Side
- Standard installation is always on the chain-link side, not the post side.
- This ensures proper alignment, better attachment strength, and a cleaner look.
Pro Tips
💡 Always measure twice, write once — double-check everything before ordering.
💡 Take photos of each measured section for easy reference.
💡 Label each section clearly — “North Side, Section 2: 62 ft.”
💡 Have a helper hold the tape measure on long runs for better accuracy.
💡 Keep a dedicated measurement sheet to avoid mixing numbers.
Mistakes to Avoid
⚠️ Loose measuring tape → Always keep the tape pulled tight for accuracy.
⚠️ Measuring to the ground instead of knuckle points → Leads to sagging panels.
⚠️ Guessing panel breaks → Always plan breaks in front of fence posts.
⚠️ Measuring from post to post → Always measure inside tension bar to inside tension bar.
⚠️ Installing on the wrong side → Always install on the chain-link side, not the post side.
Need Help?
Contact us and ask about our turnkey measurement and installation services.